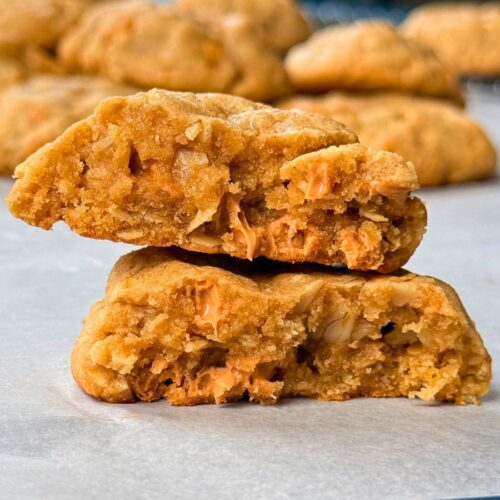
The Best Peanut Butter Oatmeal Cookies With Butterscotch Chips
This peanut butter oatmeal cookie is thick, soft and includes delicious butterscotch chips that take this cookie to a new level. Perfectly sweet and salty!
Print Recipe
Equipment
- Stand Mixer or Hand Mixer
- Whisk
- Measuring Cups and Spoons
- Large Cookie Scoop
- Mixing Bowls
- Cookie Sheet
- Wax Paper
- Parchment Paper
- Cooling Rack
Ingredients
- 2 sticks butter softened
- 1.5 cup brown sugar
- 0.5 cup cane sugar or granulated
- 2 eggs
- 2 tsp vanilla pure
- 1 cup peanut butter
- 2 cups flour all-purpose
- 1.5 cups oats Old-Fashioned
- 1 tsp baking soda
- 1.5 tsp baking powder
- 1 tsp kosher salt
- 11 oz butterscotch chips
Instructions
Making the Cookie Dough
- In a stand mixer fitted with a paddle attachment, beat together the sticks of butter and the brown sugar and cane sugar (or granulated). You can also use a hand mixer.
- Next, beat in your eggs one at a time.
- Add in vanilla.
- Add in the peanut butter.
- In a separate mixing bowl, whisk together all of your dry ingredients: flour, oats, baking soda and powder, salt, and butterscotch chips.
- Add your dry ingredients to your wet ingredients just until combined, but do not overmix.
- Refrigerate the dough for 20-30 minutes before creating your cookie dough balls. This will help them be less sticky and easier to form.
Preparing the Cookie Dough Balls
- Using a large cookie scoop, portion your cookies out onto a cookie sheet lined with wax paper. (This will yield about 32 large cookies.)
- At this point in the process, you can either begin baking or you can cover the tray with plastic wrap and continue to chill for up to 48 hours before baking. I prefer to let mine chill for another 1-2 hours or longer before baking.
Baking the Cookies
- Preheat oven to 350 degrees.
- On a large cookie sheet lined with parchment paper, place 6-8 cookie dough balls spaced about 3" apart.
- Bake for 12-14 minutes until the edges are just starting to crisp and the middle looks soft.
- Allow them to cool on the cookie sheet for 15 minutes before transferring to the cooling rack.
- Lastly, enjoy the best peanut butter oatmeal cookies!
Notes
Tips for making The Best Peanut Butter Oatmeal Cookies
- Chill the dough before baking. Chilling cookies allows the flavor to develop well, it makes the dough easier to work with and it keeps your cookies from spreading too much while baking.
- Bake quicker: Prepping your dough balls all at once makes the baking process go by quicker. I also like to get two trays rotating when making batches of cookies. While one is baking, the others are cooling on the tray until it’s time to move them to the cooling rack. Once the ones that are cooked are cooled, it’s time to get another batch in and I can use that cooled baking tray.
- Freeze for later. This makes a large batch of cookie, which is great when you are serving a crowd, but not so much when you want to feed your family a little treat and are watching your waistline! The good news is that these freeze beautifully. I encourage you to freeze whatever you aren't ready to eat yet and just pull them out the next time you want a quick dessert. They thaw quickly or can be baked from frozen with adding 2-3 minutes of additional bake time.
- KitchenAid Mixer – my mixer has been in use for decades and still going strong!
- Adjustable Measuring Cup – this is perfect for the honey! I use this anytime I need to measure something of similar texture of honey, such as peanut butter, sour cream, etc!
- Stackable Cooling Racks– A life saver for a small kitchen with minimal counter space!
- Large cookie scoop – large cookies are my go-to and this scoop has worked really well
- Glass Mixing Bowls – this set comes with matching lids, which is super helpful
- Large cookie tray – work great for baking larger cookies
Servings: 32 cookies